9 Tips & Tricks to Make the Most of Memory Maker
Memory Maker is an add-on that can be purchased as either a part of a vacation package or as an individual item. Memory Maker buys you the rights to all of the pictures that are taken by Disney PhotoPass photographers at various locations across Walt Disney World. Here are some fantastic tips and tricks to help ensure that you get the most you can out of Memory Maker:
9 – Purchase Memory Maker in advance and only purchase one!
If you are considering Memory Maker, definitely make sure that you purchase it in advance. If you purchase Memory Maker in advance, the cost will be $185. If you wait until you arrive, the cost will be $210. You definitely want to take advantage of the $25 savings since we aren’t made of money! You also want to make sure that you only purchase one for your entire group. Each member of your party doesn’t need to purchase the add-on, as everyone’s pictures will be captured as long as each group member is linked in My Disney Experience.
8 – Be sure it is linked to your My Disney Experience account.
This is extremely important! You have to make sure that the Memory Maker add-on is linked to your My Disney Experience account and that all of the guests in your party are also linked to the vacation and their Magic Bands. You won’t have your photos linked to Memory Maker if everything isn’t set up. The members of your party also won’t be able to capture their own pictures, especially on rides, if their bands aren’t linked to the group, so that their photos are also captured from their Magic Bands. It is easy to set up, and you should be able to get it all done as soon as you make the purchase, so you don’t have to worry about it anymore.
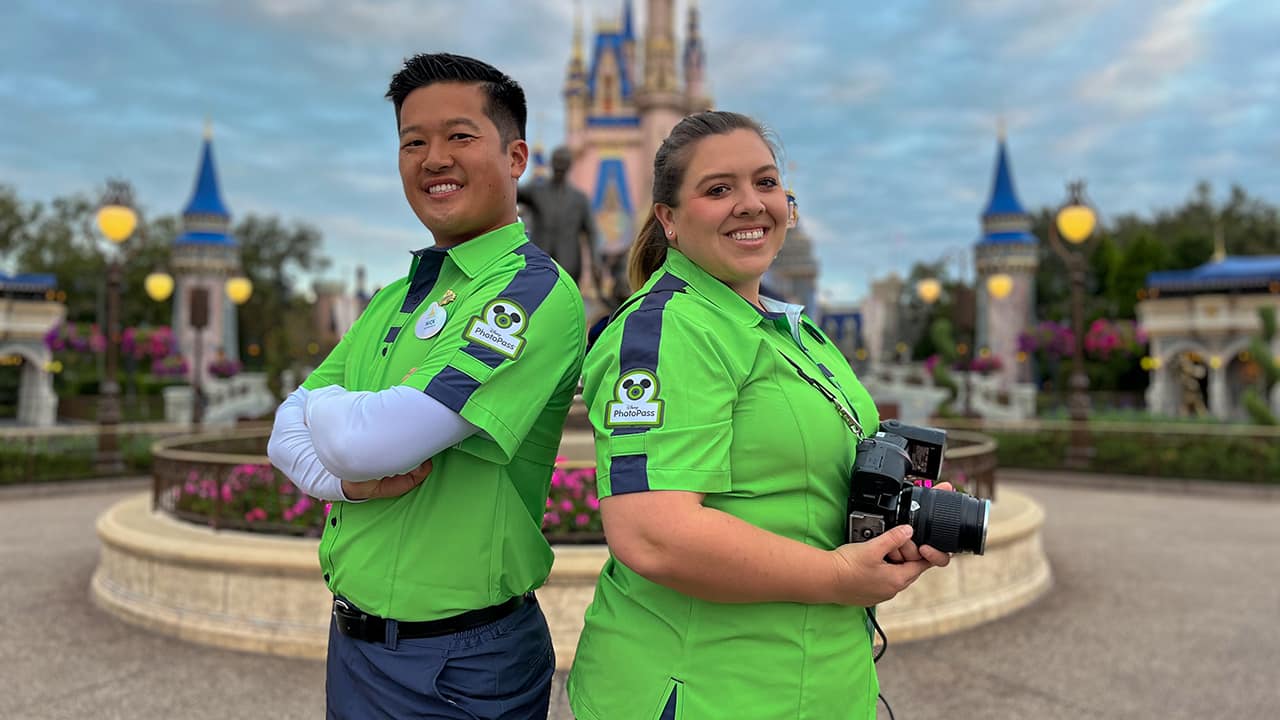
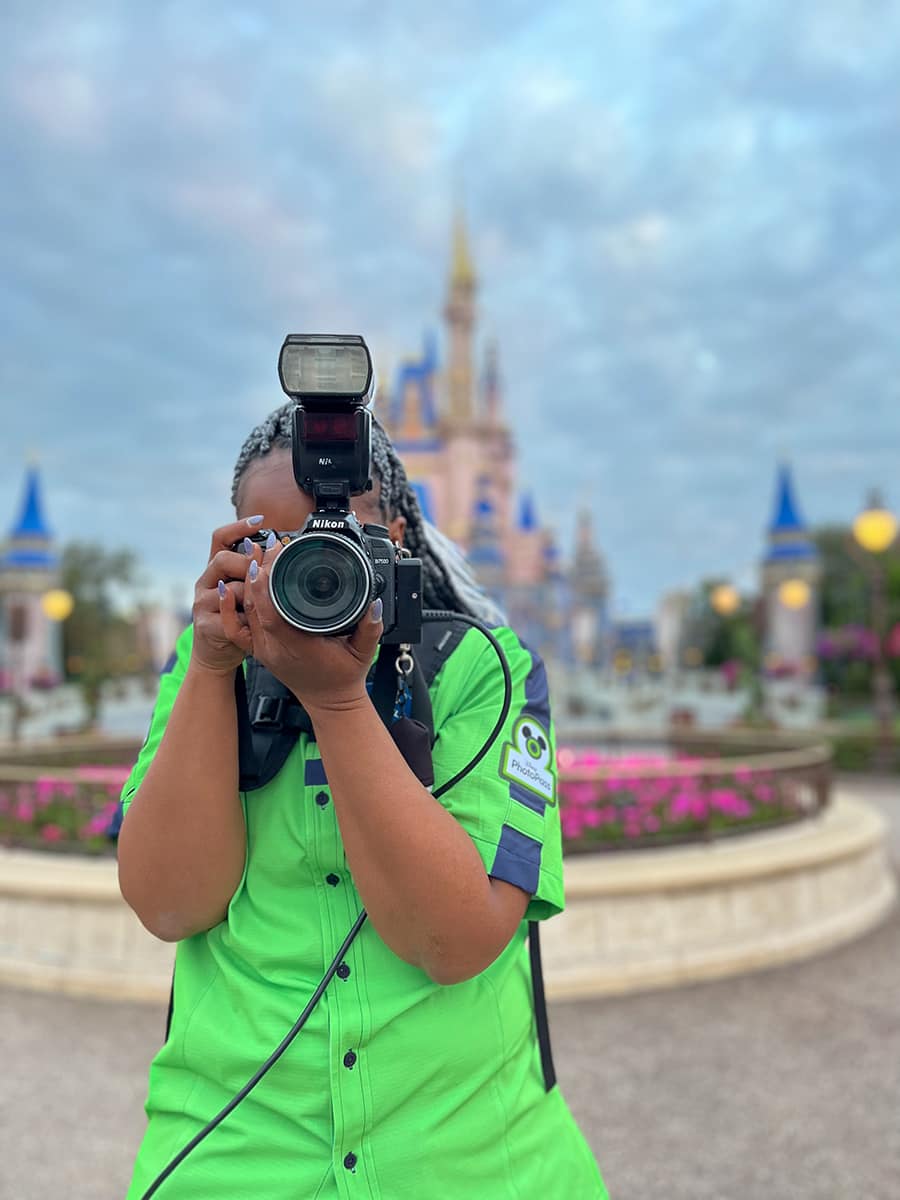
7 – If you see a PhotoPass photographer, stop and take a picture!
You get the pictures that any PhotoPass photographer takes, so definitely take the time to stop and take a picture when you see them. I can’t tell you how many times I think to myself, “Oh, we will catch that one later.” Then, we never end up making it back there, and I regret it. If you see them, definitely try to go ahead and stop to get the pictures so you don’t miss the opportunity! It ends up saving you time so that you don’t spend time backtracking, too. You are already there, so it makes sense to take a couple of minutes to take the picture.
6 – Visit the Disney PhotoPass Studio in Disney Springs.
In addition to PhotoPass Cast Members being located throughout theme parks, there is also a Disney PhotoPass Studio located in Disney Springs. This hidden gem allows guests to have a professional photo shoot with some fantastic new backgrounds. You can take family or individual portraits on one of the standard backdrops. If you’re looking for a slightly more specialized photo experience, this studio also offers those of all ages the opportunity to pose in front of virtual backdrops using a green-screen technique. Here are just a few of the numerous virtual backdrop themes currently available: “Aladdin;” “Beauty and the Beast;” “Brave;” “Cars;” “Cinderella;” “Elena of Avalor;” “Inside Out;” “Jake and the Never Land Pirates;” “The Lion Guard;” “The Little Mermaid;” “Mickey and the Roadster Racers;” “Moana;” “Monsters, Inc.;” “Mulan;” “Peter Pan;” “Pirates of the Caribbean;” “The Princess and the Frog;” “Sleeping Beauty;” “Snow White;” Star Wars; “Tangled;” “Toy Story” and more! These photos can be linked to your My Disney Experience account and downloaded as part of an active Memory Maker entitlement. No appointment is necessary for the shoot. Stop by when it fits into your schedule. This is an excellent value as all of the pictures will be available to you in your account as part of your Memory Maker package.
5 – Don’t forget about character meet and greets.
Many of the character meet and greets throughout the parks have PhotoPass photographers at them. This is a great opportunity to get even more amazing pictures while you meet your favorite characters. You don’t have to worry about carrying a camera; you still get all your favorite shots. If you don’t usually take the time to meet characters in the park, you may want to make time to get the most out of Memory Maker.
4 – Book character dining locations for meals.
Character dining is another great way to collect more amazing photos for your collection. At select character dining meals, at least one PhotoPass photographer is usually present. You get to capture fantastic memories from your dining experiences, meet some of your favorite characters, and enjoy a delicious meal. It is a big win all the way around!
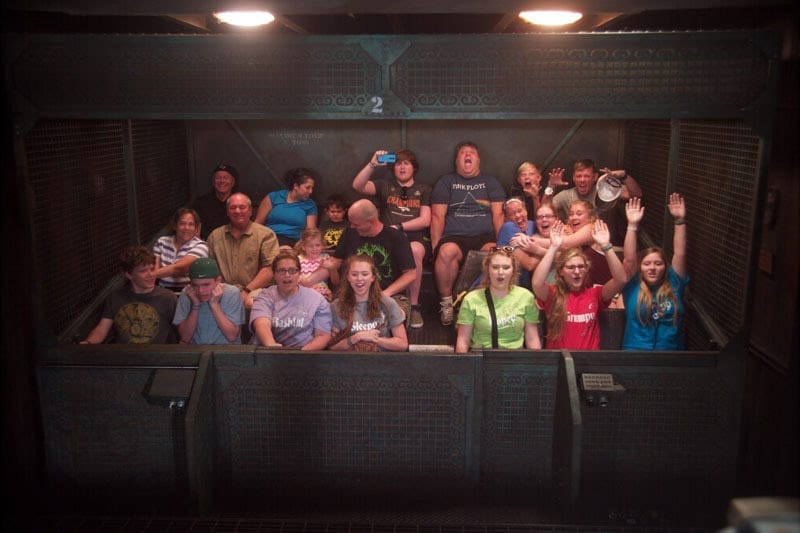
3 – Ride the rides with ride photos and videos as much as possible.
There are many rides on property that have ride photo opportunities. Be sure to ride those attractions as much as possible so that you get the most out of your Memory Maker. The ride photos are a huge selling point and benefit of it, so you want to get as many of those as possible. These are the pictures that you really can’t take or capture for yourself. There are also currently ride videos on two attractions, Seven Dwarfs Mine Train and Tower of Terror. The videos are an amazing souvenir and memory to have forever! Here are the rides that have photos on them to help you plan:
- Buzz Lightyear’s Space Ranger Spin (Magic Kingdom)
- The Haunted Mansion (Magic Kingdom)
- Seven Dwarfs Mine Train (Magic Kingdom)
- Space Mountain (Magic Kingdom)
- Pirates of the Caribbean (Magic Kingdom)
- Rock ‘n Roller Coaster (Hollywood Studios)
- Slinky Dog Dash (Hollywood Studios)
- Twilight Zone Tower of Terror (Hollywood Studios)
- Dinosaur (Animal Kingdom)
- Expedition Everest (Animal Kingdom)
- Test Track (Epcot)
- Frozen Ever After (Epcot)
- Guardians of the Galaxy: Cosmic Rewind (Epcot)
- TRON Lightcycle / Run (Magic Kingdom)
- Tiana’s Bayou Adventure (Magic Kingdom)
2 – Ask for extra magic shots.
When you take pictures in front of various icons with a PhotoPass photographer, be sure to also ask about extra magic shots if they don’t offer them to you. There are lots of different magic shots that they can do. So, include holding frames and props. Others include unique poses so that characters like Tinkerbell, Simba, Mickey, the Hitchhiking Ghosts, and many more can be added to the photo like they were there the entire time. You will definitely want these added to your collection of pictures to get the most out of Memory Maker. Ask about them at every photographer you meet, just in case.
1 – Add enhancements to your digital downloads.
Once you get back from your trip and start looking through your photos, you will be able to add amazing touches to them before you download all of your photos. You can save the original photos, and you can save versions where you can fun borders, enhancements, characters, and more. You can add a ton more photos to your collection when you have fun making edits to your existing photos.
For a no obligation, FREE Quote on a Disney vacation package, please contact our travel partner Magical Vacation Planner at 407-442-0227 (407-442-0215 for Spanish). You can also request a FREE quote online by Clicking HERE.